Find And Destroy Mercenary Convoy in Modern Warfare 3 Zombies and completing the Interceptor Act One Tier 2 Zombie mission

Introduction: The Thrill of the Hunt
Are you ready to dive into the heart of the action in Modern Warfare 3 Zombies? One of the most challenging and rewarding missions in the game is the Interceptor Act One Tier Two mission, where you need to destroy a Mercenary Convoy and secure a Mercenary Stronghold Keycard. This mission is not just about brute force; it’s about strategy, teamwork, and a bit of luck. In this guide, we’ll break down everything you need to know to complete this mission with flying colors. Whether you’re a seasoned player or a newcomer to the world of Zombies, this guide will equip you with the knowledge to succeed.
Section 1: The Mission Overview
The Challenge Ahead The Interceptor Act One Tier Two mission in Modern Warfare 3 Zombies is a test of both your combat skills and your ability to strategize. After completing the six missions in Tier One, you’ll be tasked with finding and destroying a Mercenary Convoy and collecting a Mercenary Stronghold Keycard. This mission is notorious for its difficulty, primarily because finding the convoy can be a hit-or-miss affair. But fear not, we’ve got you covered with tips and tricks to make this mission a breeze.
Section 2: Locating the Elusive Mercenary Convoy
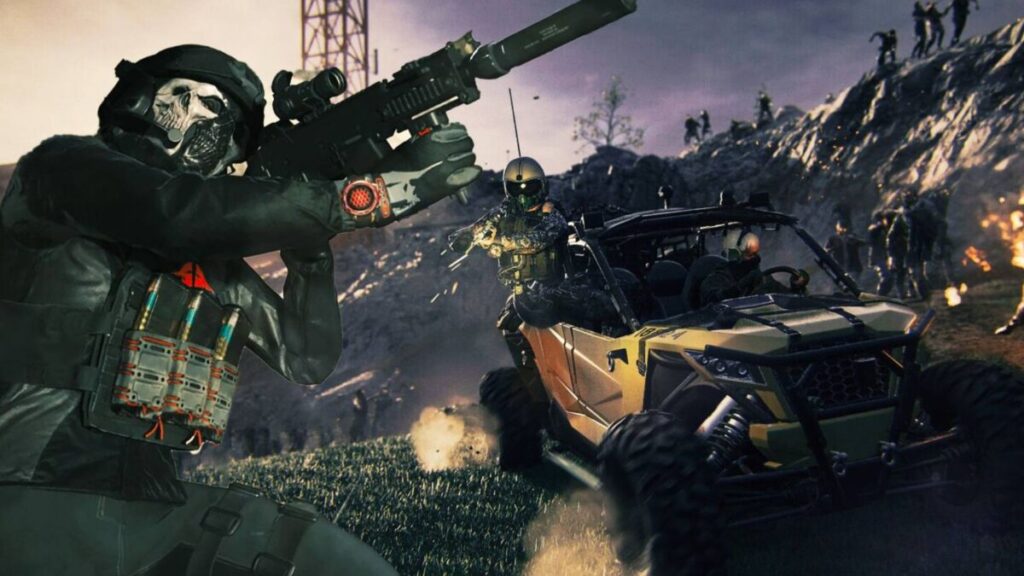
The Hunt Begins Finding the Mercenary Convoy is often the most challenging part of this mission. The convoy can appear almost anywhere on the map, making it a game of hide-and-seek. Here are some proven strategies to increase your chances of finding the convoy quickly:
- Explore Mercenary Weapon Strongholds: These areas are hotspots for mercenary activity, and we’ve noticed that convoys sometimes spawn near these locations. Keep an eye out while you’re in the vicinity.
- Drive Around and Change Locations: If you don’t see a convoy in one area, move to another. The convoy can appear on highways, near towns, or even in remote areas. Keep moving and stay vigilant.
- Listen to the Comms: Your in-game communications will notify you if a convoy is nearby. Pay close attention to these alerts, as they can save you a lot of time and effort.
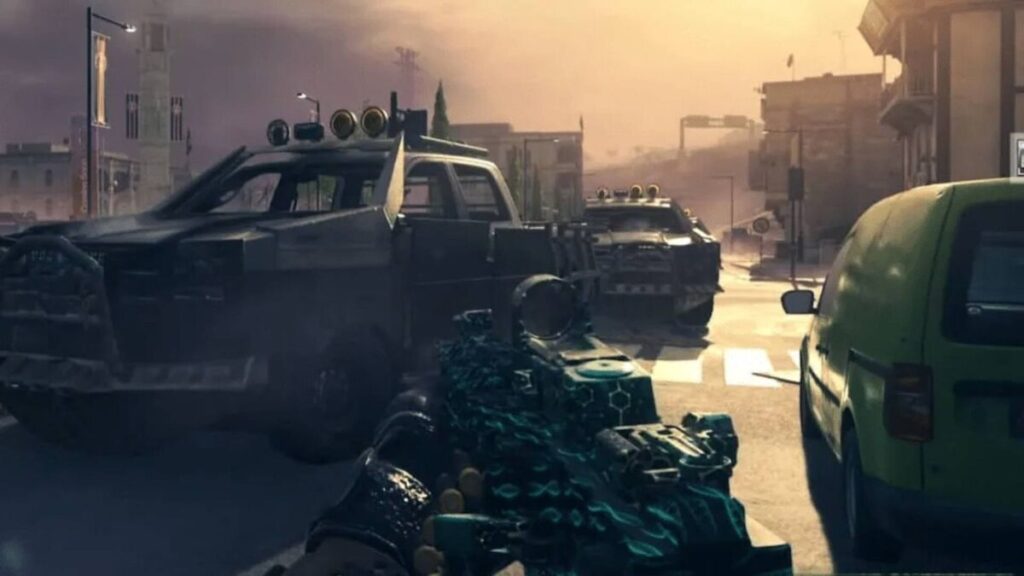
- Watch for Armored Truck Icons: On your map, look for a trio of Armored Truck icons. These indicate the presence of a convoy. Once you spot them, get ready for action.
Remember, you only need to find and destroy one convoy to complete the mission. Once you’ve done that, you can focus on the next steps.
Section 3: Destroying the Convoy
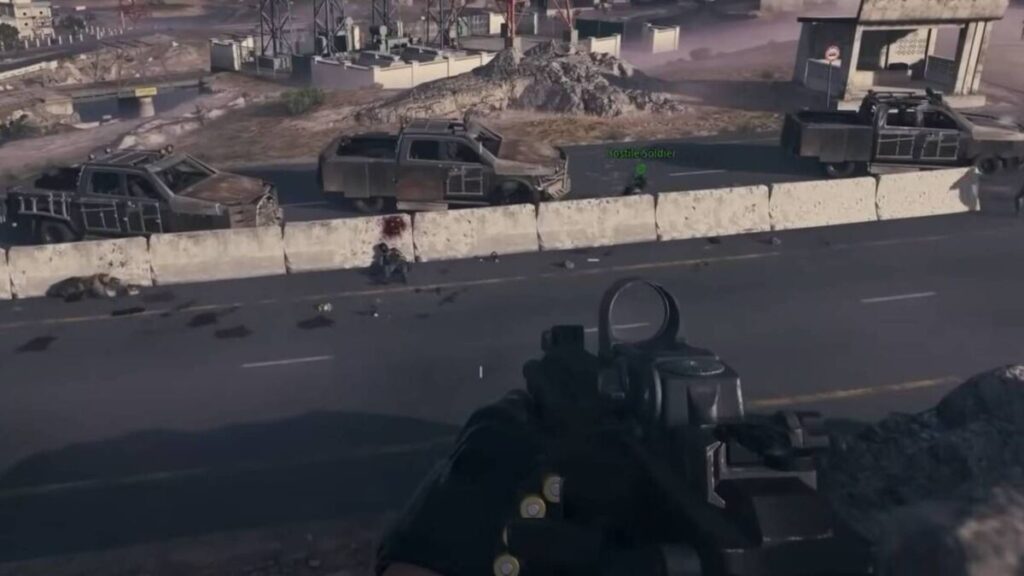
The Battle Unfolds Once you’ve located the convoy, it’s time to bring it down. Destroying the convoy involves eliminating every mercenary in and around the vehicles. Here are two effective strategies to help you succeed:
- Spread Out and Surround: If you’re playing with a full squad and the area allows for it, spread out around the convoy. By attacking from multiple angles, you can divide the mercenaries’ attention, making it easier to take them out one by one.
- Stick Together and Move as One: If the environment is too cramped or you’re playing with a smaller squad, it’s better to stick together. Move as a unit, focusing your fire on the mercenaries. This method is especially effective if you’ve visited a Pack-a-Punch device and have powerful weapons at your disposal.
No matter which strategy you choose, teamwork is key. Communicate with your squad, coordinate your attacks, and watch each other’s backs. With a well-coordinated effort, you’ll bring the convoy down in no time.
Section 4: Finding the Mercenary Stronghold Keycard
The Treasure Hunt After you’ve destroyed the convoy, the next step is to find the Mercenary Stronghold Keycard. This blue keycard is your ticket to completing the mission. Here’s how to find it:
- Search the Area Thoroughly: After the convoy is destroyed, search the remains of the vehicles and the fallen mercenaries. The keycard can appear in any of these locations, so be thorough.
- Watch for Pings: If you’re playing with a team, keep an eye out for pings. A teammate might spot the keycard and ping it for you, making it easier to find.
Once you’ve found the keycard, pick it up and add it to your inventory. If your rucksack is full, you may need to remove an item first. As soon as the keycard is in your inventory, the mission will be marked as complete.
Section 5: Tips for Success
Maximizing Your Chances Here are some additional tips to help you succeed in the Interceptor Act One Tier Two mission:
- Stay Mobile: Keep moving and don’t stay in one place for too long. This will help you avoid ambushes and make it easier to find the convoy.
- Upgrade Your Weapons: Visit Pack-a-Punch devices to upgrade your weapons. Powerful weapons will make it easier to take down the mercenaries.
- Use Perks Wisely: Choose perks that enhance your mobility, combat effectiveness, and survival. Perks like Juggernog and Double Tap can make a big difference.
- Stay Alert: Always be on the lookout for threats. The mercenaries are tough opponents, and a moment of carelessness can be costly.
By following these tips, you’ll be better prepared to tackle the challenges of this mission.
Section 6: Conclusion
Mission Accomplished Completing the Interceptor Act One Tier Two mission in Modern Warfare 3 Zombies is a rewarding experience. It tests your skills, teamwork, and strategic thinking. With the strategies and tips outlined in this guide, you’ll be well-equipped to find the convoy, destroy it, and secure the keycard. Remember, persistence and teamwork are key. Good luck, and happy hunting!